home
work
about
bio
texts & publications
contact
exhibitions
Menu
ANDREW SABIN
home
work
about
bio
texts & publications
contact
exhibitions
×
<
return to main page
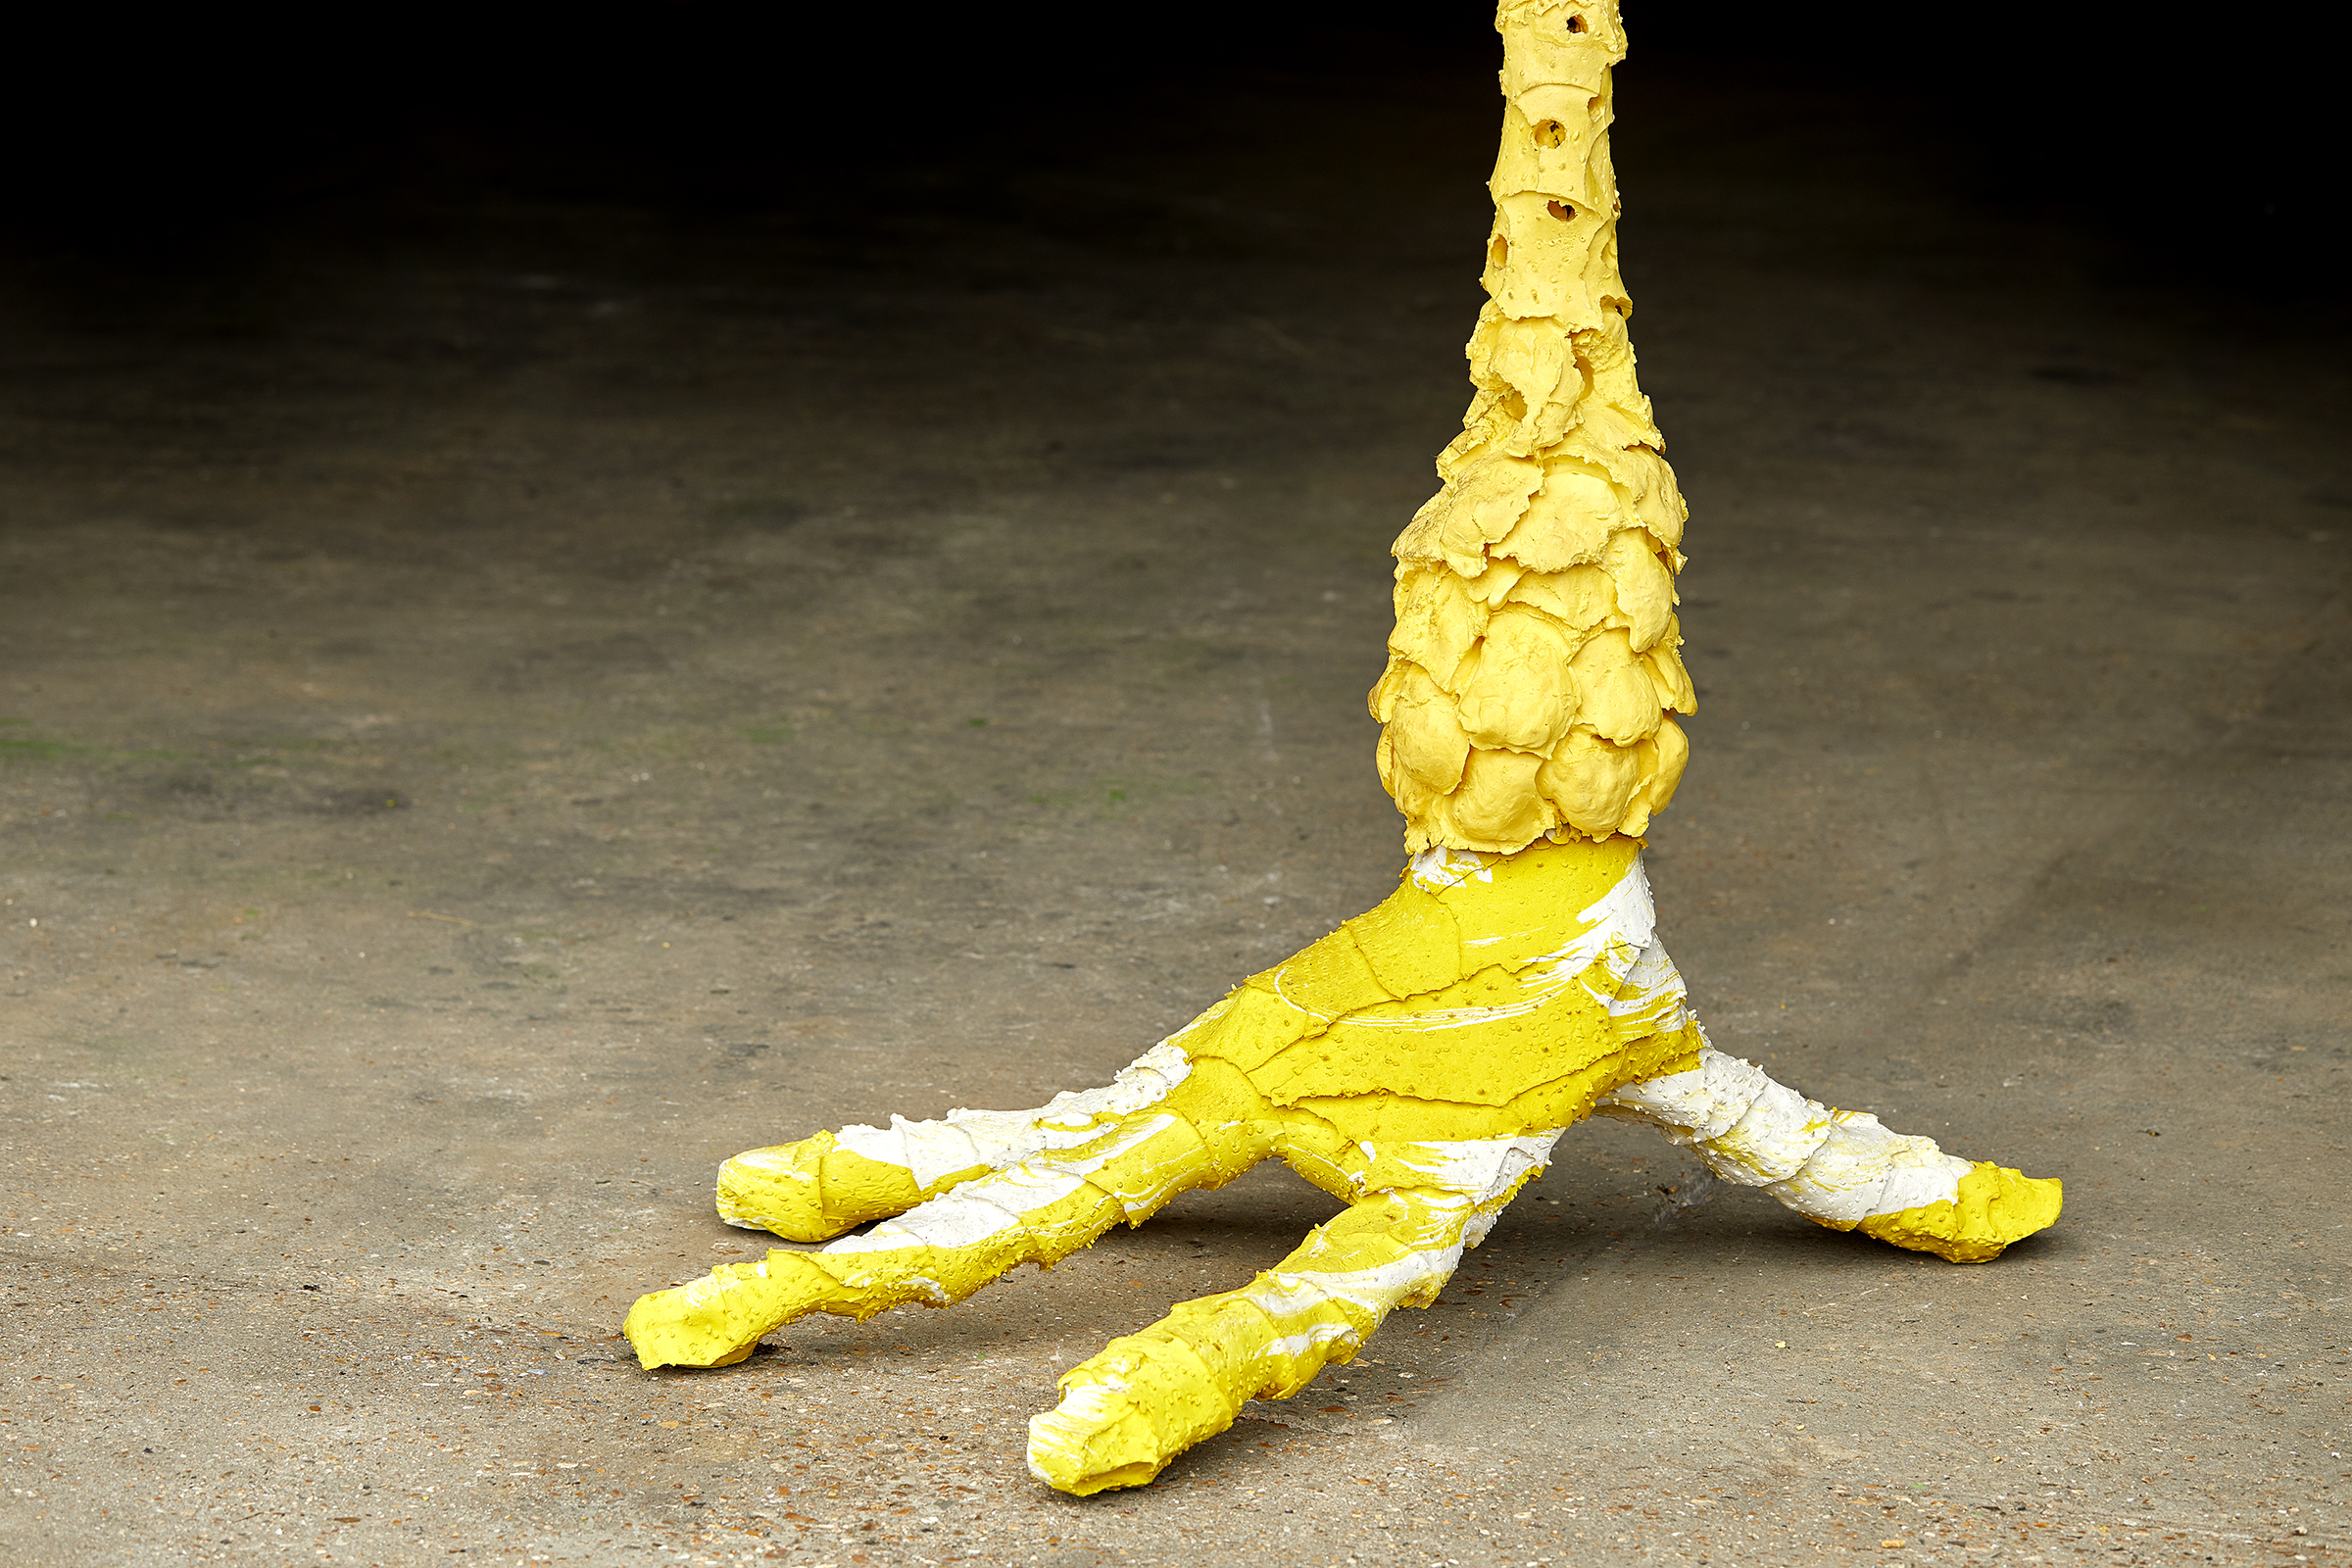
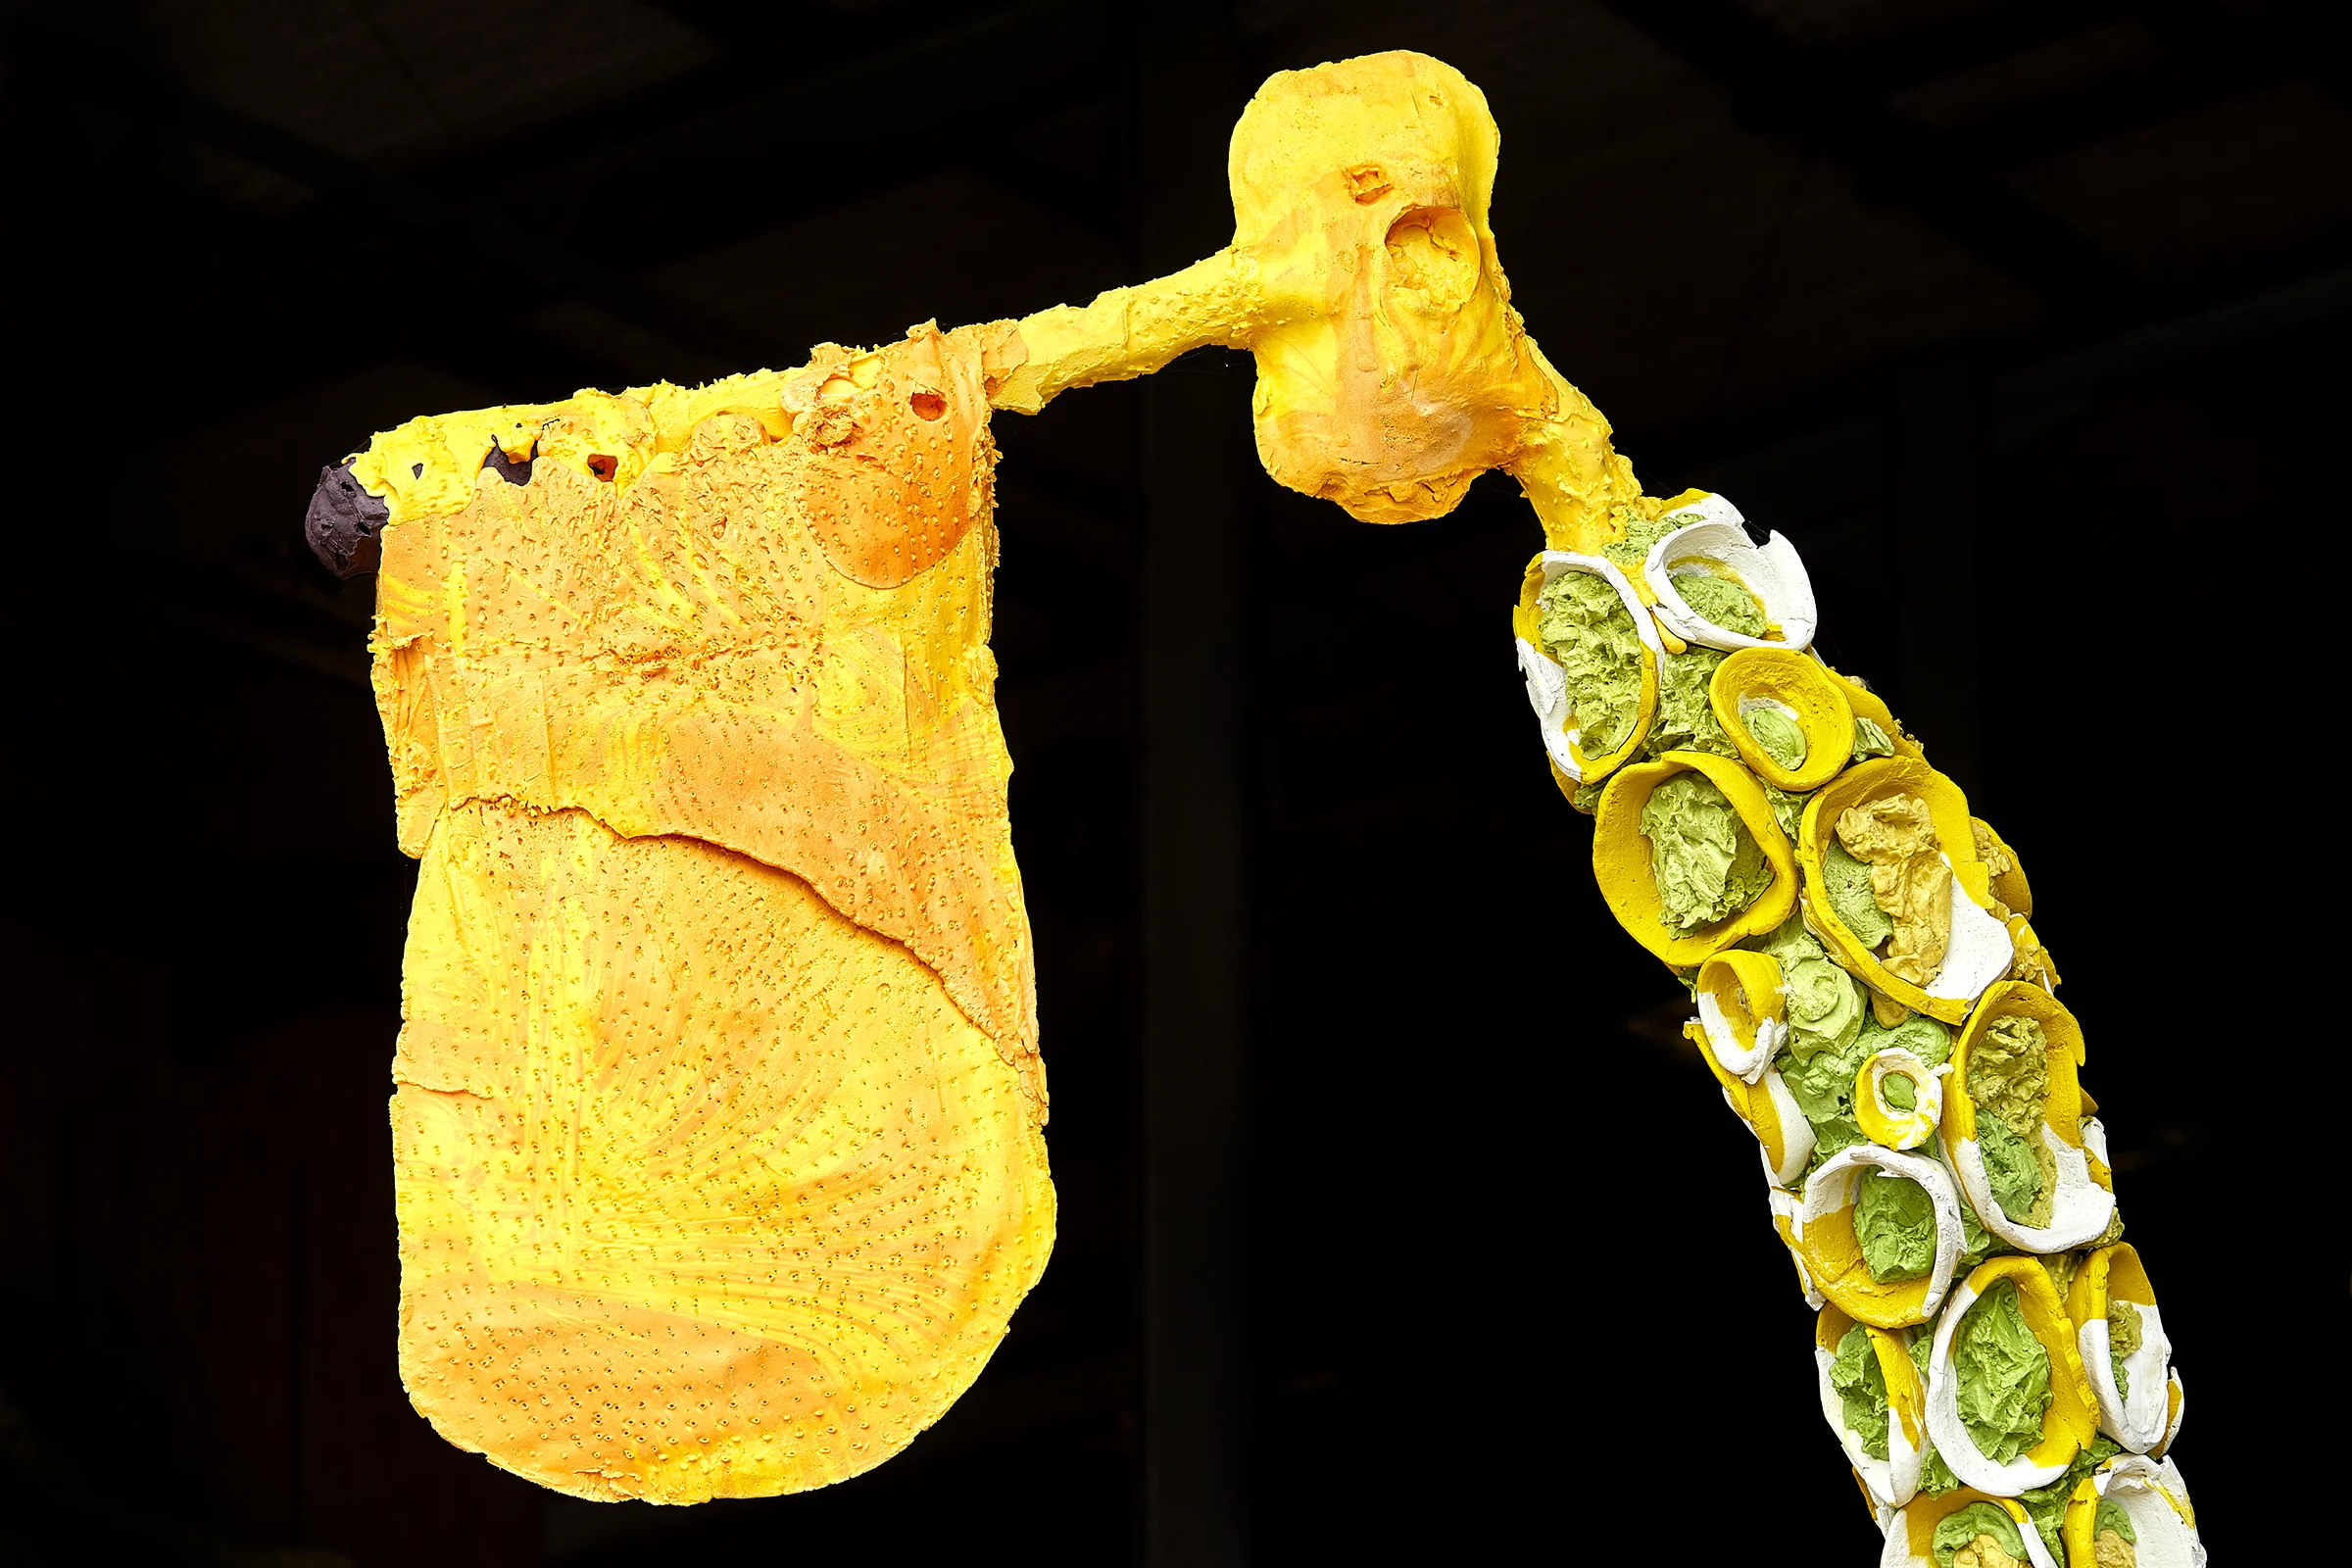
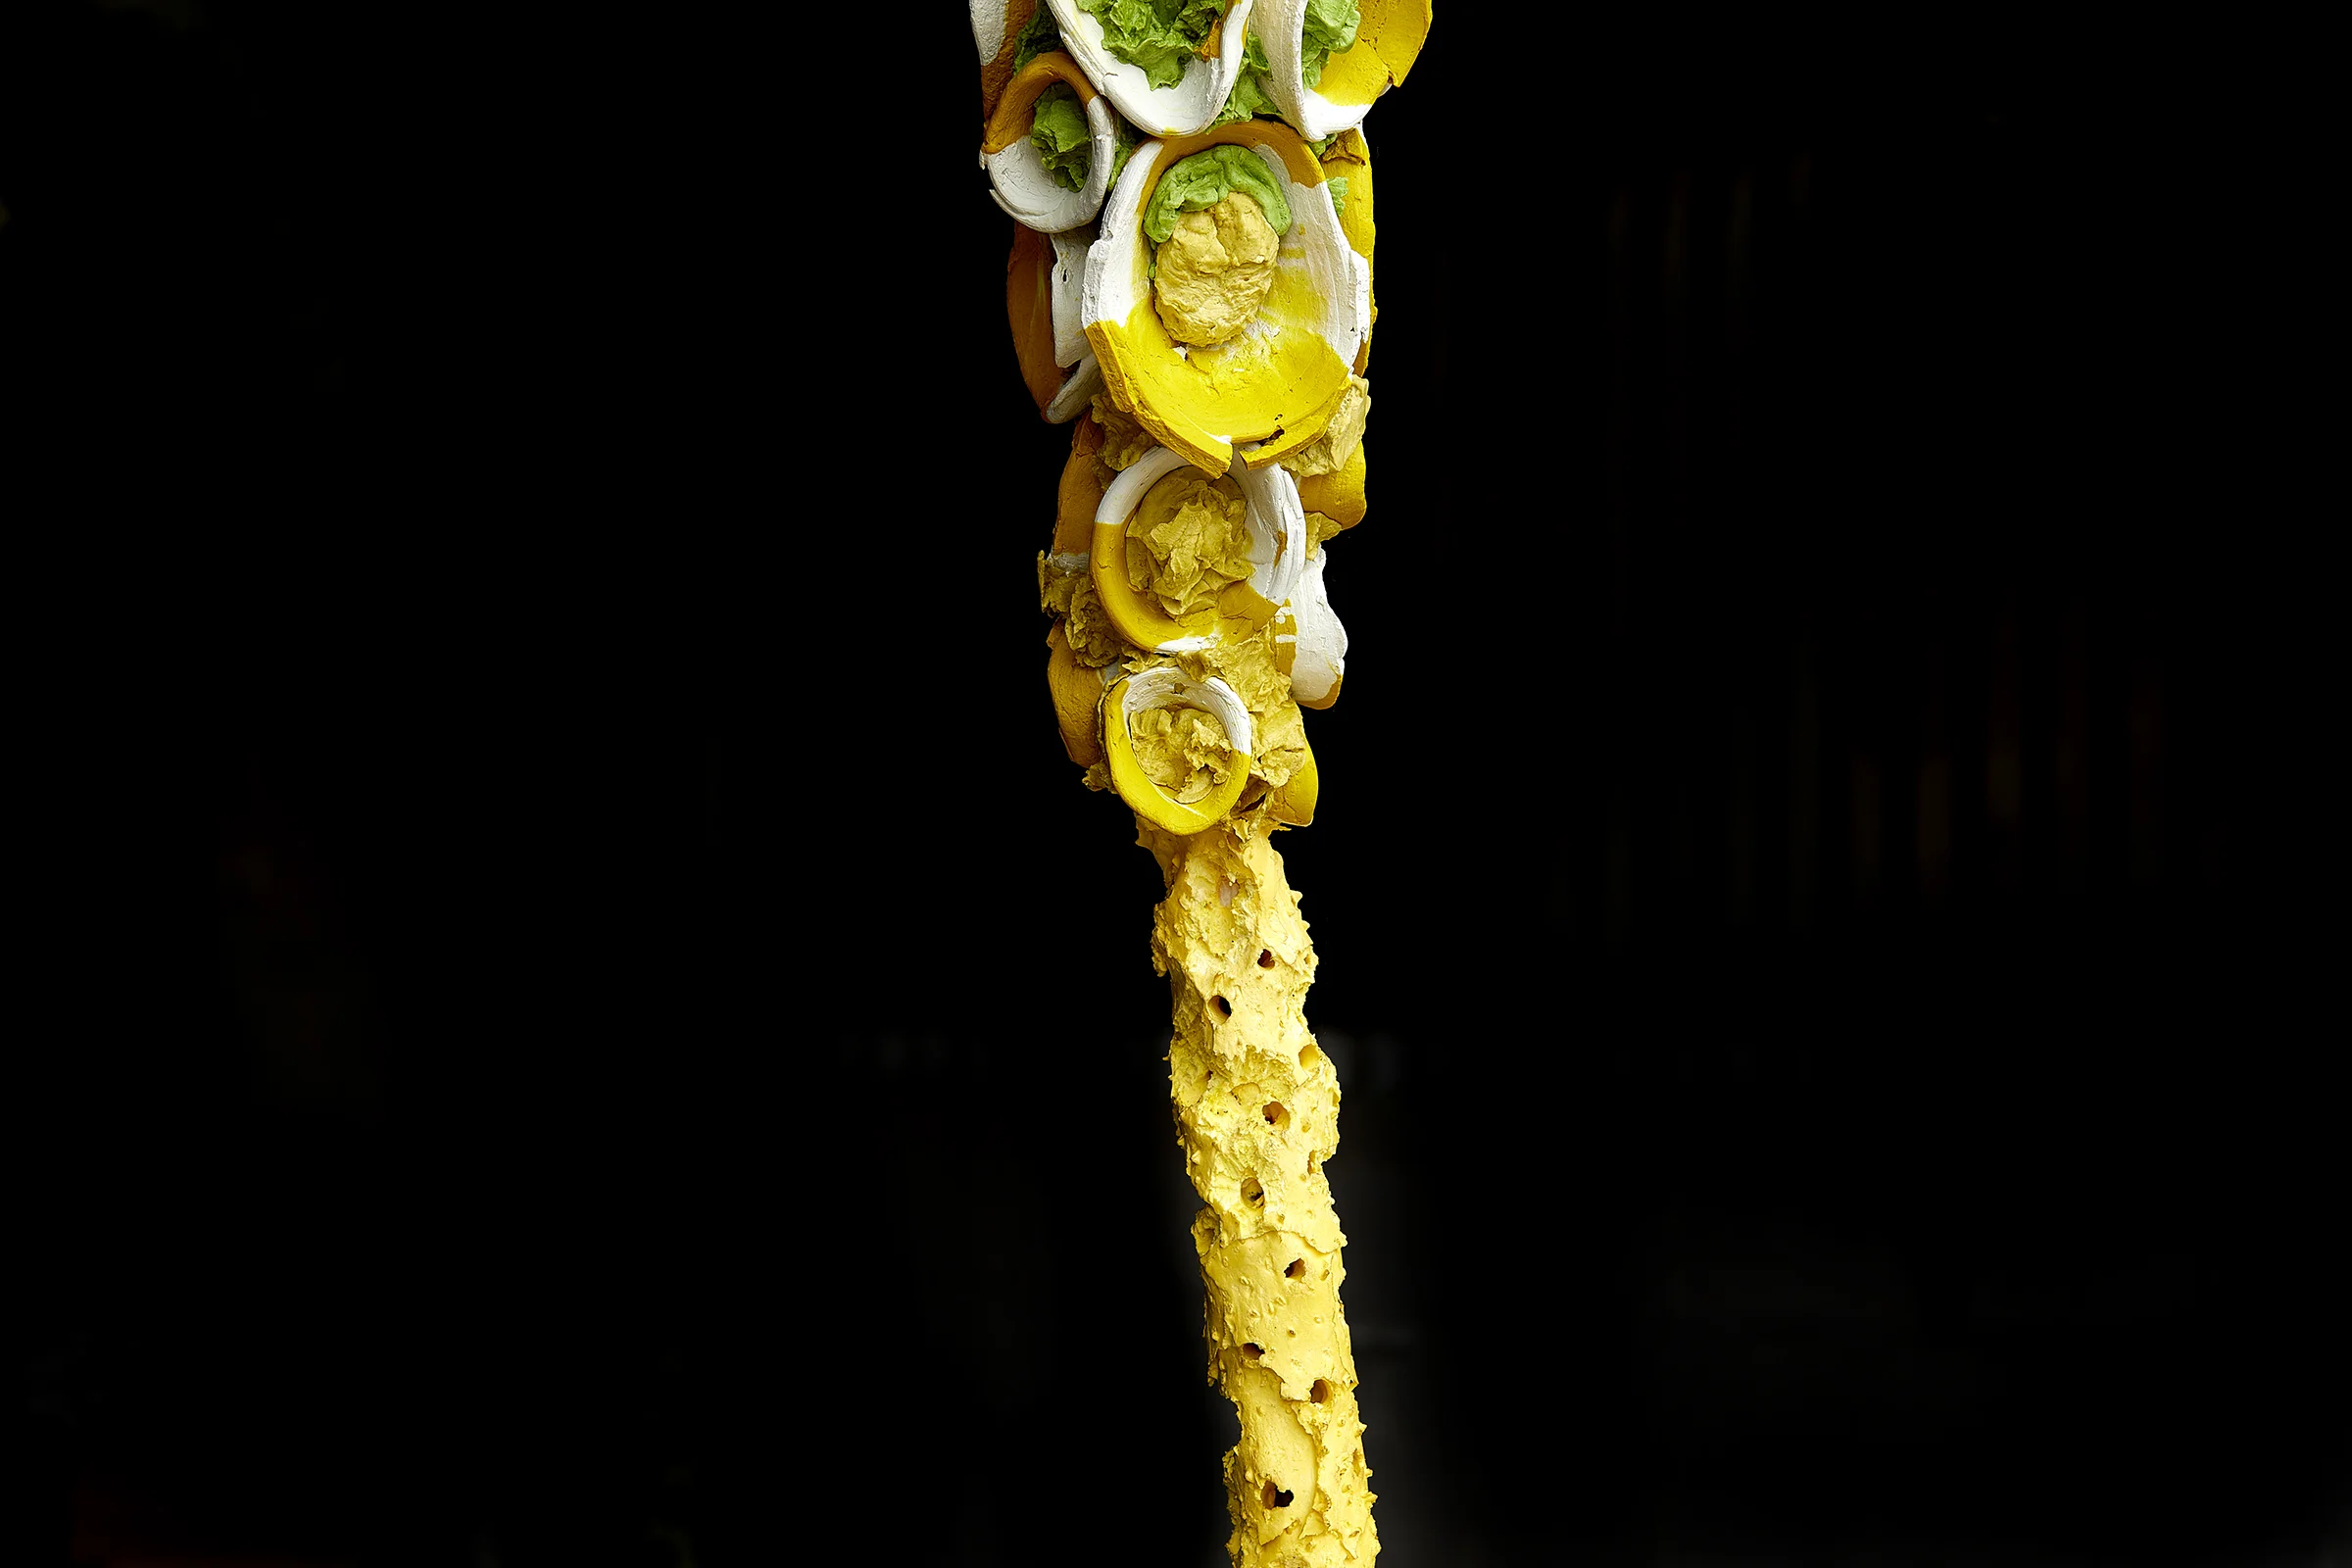
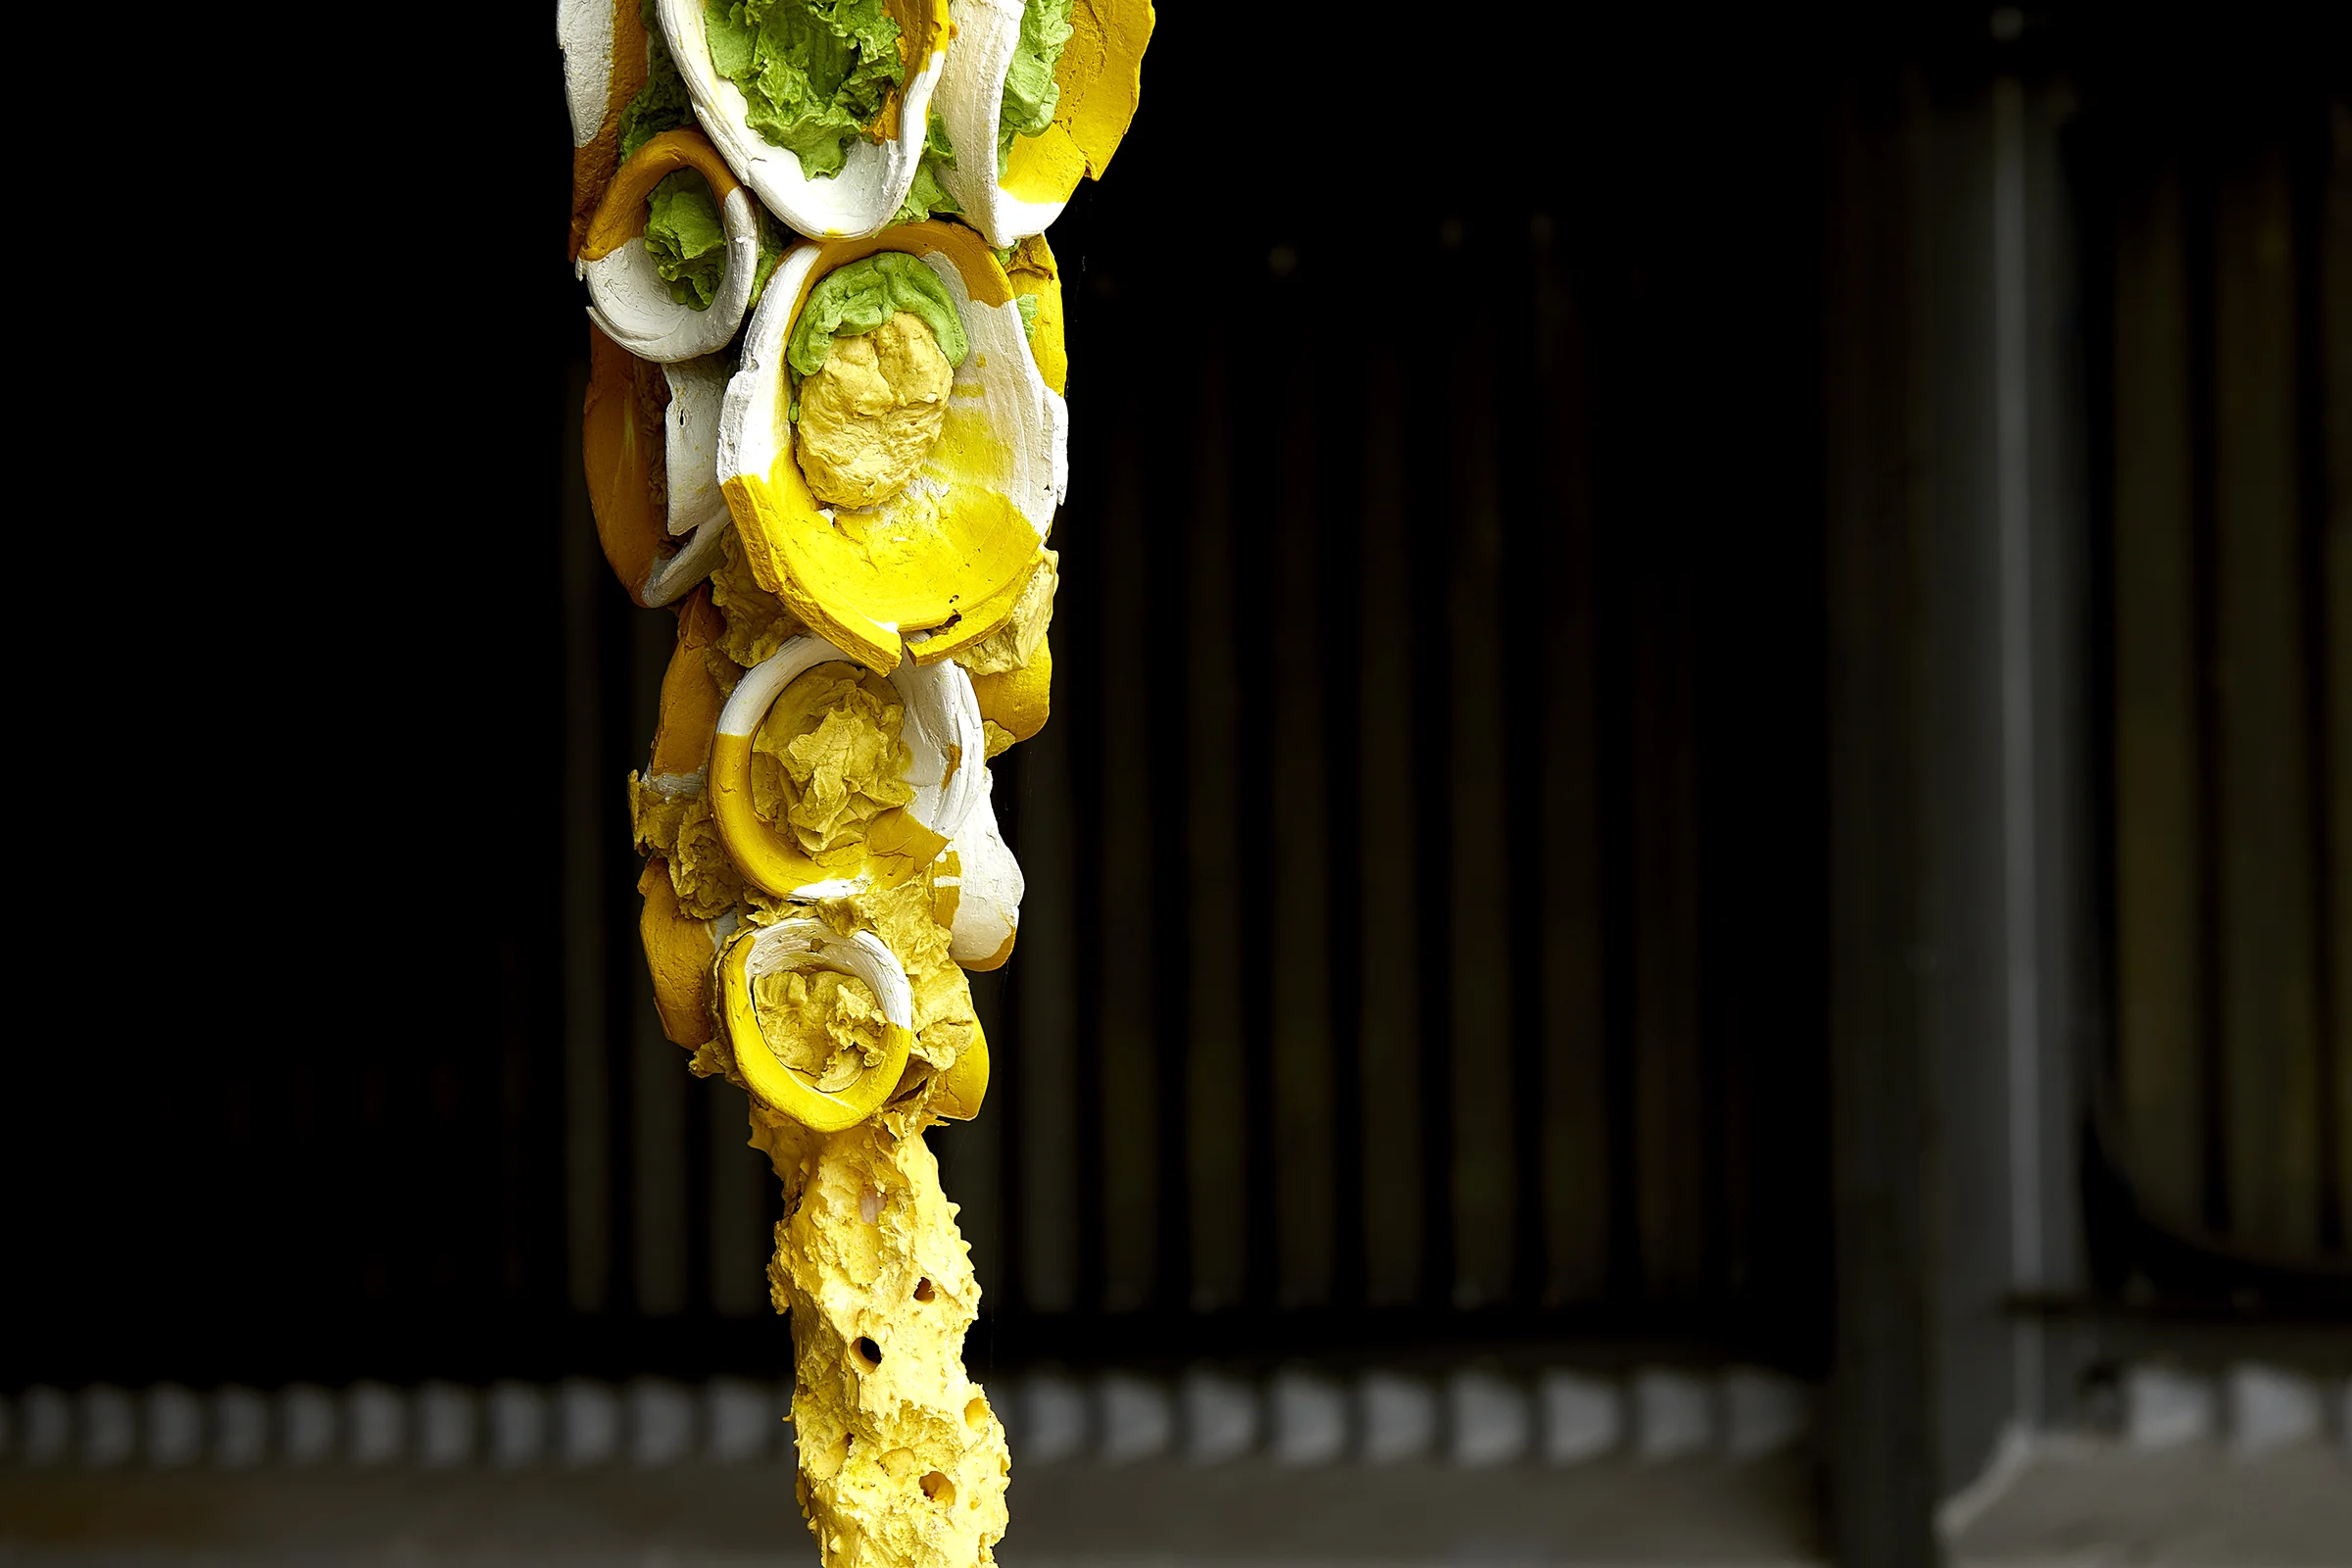
The Chicken and the Yolk
- further images
View fullsize
View fullsize
View fullsize
View fullsize
View fullsize
View fullsize
View fullsize
View fullsize
View fullsize